When starting a new project, or even when it comes to general day to day living, there never seems to be enough time. Being busy seems to be the norm, but if you stop yourself and ask how being busy correlates to actually being on track or being productive, you might notice that they are far from the same thing. When I started freelancing a year and a half ago, it felt like I was always working but not really moving forward. The biggest difference between working for yourself and for someone else, is that you have to create your own priorities. There is no one to tell you what you need to do next, and if you get sidetracked into organising papers for an hour or two, no one is asking you if you finished replying to your emails and took care of all the other important tasks.
I found journaling to be an invaluable tool when it came to getting organised. Writing down not only what I wanted to do in a day or a week, but also what my time was actually spent on, gave me an incredible insight. What I found really inconvenient was the fact that I couldn't find a daily journal that would be organised the way I wanted it to. I knew that I needed a monthly spreadsheet, to easily mark down important days and events, I wanted a day view with the breakdown of hours for detailed planning, and I wanted some blank pages in between for random drawings or thoughts that often pop in my head when I am out and about. I was even considering coming up with a handmade version until just over a month ago Rosemary, the beauty and the brains behind Mynd Map, told me about her kickstarter and sent over a prototype of her journal.
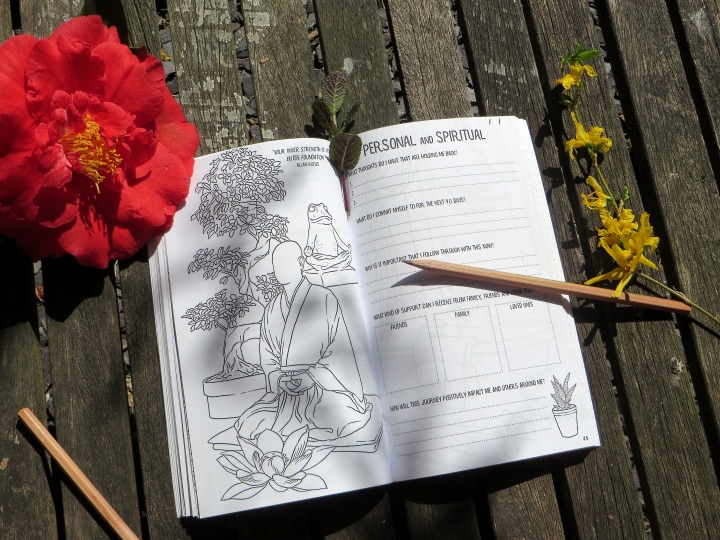
In a nutshell, Mynd Map is a 90 day guided journal and a daily diary in one. It starts of with a few pages that give a brief introduction on time management and mindfulness techniques, to help you get the most of the journal and set you one the right track with your project. It even has examples on how to make use of different pages of the diary. It has everything that I wanted in terms of the monthly and daily breakdowns, extra pages for drawing or writing and more. The journal focuses on all areas of your life, letting you work on whatever it is that is currently most important to you like a new health training regime, creative project or a start-up, yet not neglecting other things like relationships. The approach here is about happiness and overall fulfilment rather than success at all costs.
Throughout the pages you will find illustrations that you can colour and inspirational quotes. The final version will be made with art quality paper and will include perforated pages, so you will be able to take out artwork and pop it on your vision board or anywhere else you want it.
I have really been enjoying using the prototype and I can't get over how perfectly it is organised. The best part of having a journal is that it lets you take a look at the difference between what you were hoping to do and what actually happened. It is right there to see in black and white, which also means you can also change things that don't work. The reason why the journal is for 90 days is that it takes 66 days for a new behaviour to become automatic, so by the end of Mynd Map you will no longer need the guidance. I really want to get my hands on the complete version of Mynd Map, I can only imagine how beautiful it will be with art paper pages, so I already pledged to the campaign.
There is one week left of the Kick Starter campaign (it finishes on 5th of May at 16.00 BST) and the rewards include early bird discount on Mynd Map of £20 instead of £29.99, and a pdf of the full 90 day journal before it goes to print for a pledge of £5.
You can find a video of the journal and more information on the Mynd Map kickstarter page.